Most guides to trail running shoes for beginners start with a buying recommendation. This one starts differently: you probably don’t need them yet.
Not because trail shoes don’t matter. They do. But if the reason you haven’t tried trail running is that you don’t own a pair, that’s the wrong reason. The trails aren’t going anywhere. Your road shoes are good enough to get started.
This guide is for when you’re ready to make the move or when your road shoes have already told you they’re done.
You Don't Need Trail Shoes to Start
There’s a version of trail running that sells you on $200 shoes before you’ve run a single mile of dirt. That’s not us.
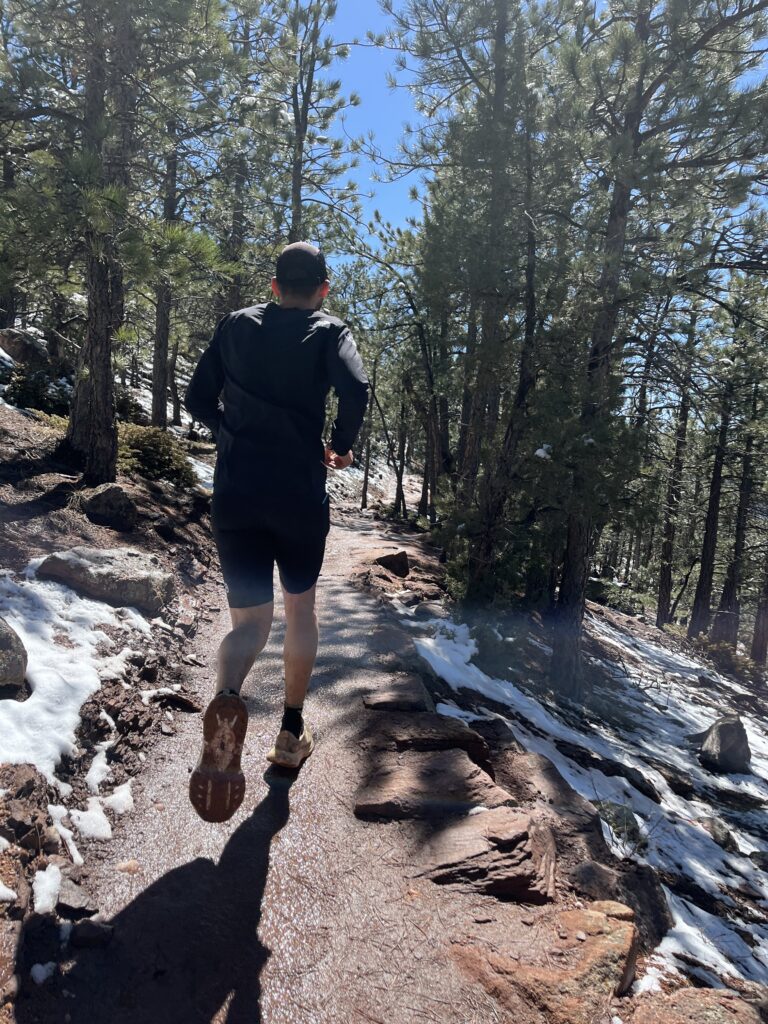
If you’re brand new to trail, start with whatever running shoes you have. Go find a gravel path, a fire road, a wide dirt trail near your house. Run it. See how it feels. See what the terrain asks of you.
This is actually the smarter move. No buyer’s guide, YouTube review, or Reddit thread can tell you what your feet will feel on your local trails. Running a few sessions in your road shoes will. You’ll feel the places where grip matters. You’ll notice when rocks start bothering the soles of your feet. You’ll understand whether your local trails are mellow gravel or genuinely technical. That context is worth more than an hour of spec comparisons.
Gear shouldn’t be the barrier between you and the trails. Don’t let it be.
When Road Shoes Stop Working
Road shoes can handle more than most people think. If your trail running is mostly gravel roads, hard-packed dirt paths, and well-groomed trail, you can go a long way on them. The limitation shows up in three places: grip, protection, and durability.
Grip becomes an issue when terrain gets loose, wet, rooty, or muddy. Road shoe outsoles are smooth by design, built for consistent pavement, not variable dirt. When you’re slipping on a wet root or sliding sideways on a loose descent, that’s your terrain telling you it’s time.
Protection becomes an issue when rocks and roots start punishing your feet. Road shoe midsoles aren’t built to shield you from sharp ground contact. A few miles on rocky singletrack in road shoes will let you know fast.
Durability becomes an issue faster than most people expect. Trail surfaces, especially dry, rocky, or technical terrain, are significantly more abrasive than pavement. The outsole rubber on road shoes isn’t built for that kind of friction. You’ll wear through them quicker, and the grip that was already marginal gets worse as the sole degrades. If you’re planning to run trails regularly, your road shoes will pay the price.
The honest threshold: if you’re mostly running fire roads and groomed trails, you can run in road shoes for a long time. If you’re moving onto actual singletrack proper trail with variable terrain, roots, rocks, climbs and descents a trail shoe will make a real difference to both your safety and your enjoyment.

The right shoes get you on the trail. Consistent training keeps you there. Vert builds around your terrain, your schedule, and where you want to go
What Actually Matters in a Trail Shoe
Once you’re ready to buy, here’s what to pay attention to and what you can mostly ignore.
Grip: You Probably Need Less Than You Think
The outsole is what separates a trail shoe from a road shoe. Those rubber protrusions on the bottom (lugs) dig into the ground and give you traction on uneven surfaces.
Here’s what the marketing doesn’t tell you: most beginners buy way more lug than they need.
Lug depth is terrain-specific:
- Shallow lugs (2-3mm): Right for hard-packed trails, gravel, and fire roads. Enough grip for confidence, still comfortable if you cross some pavement.
- Medium lugs (3-5mm): The versatile middle ground. Works across most trail conditions forest tracks, mixed terrain, moderate climbs.
- Deep lugs (5mm+): Built for mud, bogs, and genuinely technical terrain. Very grippy, but aggressive, stiff, and uncomfortable on anything that isn’t soft and loose.
Most beginner trail runners are running medium-difficulty terrain, and many are starting on even mellower ground than that. Your starting point should match where you actually run, not the terrain you’ve seen in YouTube videos or race recaps. If your trails are mostly hard-packed dirt and gravel, shallow lugs are perfectly fine. If you’re on mixed forest trail with some wet roots and moderate climbs, step up to medium. Save the aggressive stuff for when your terrain genuinely asks for it.
One thing worth knowing: outsole rubber quality matters as much as lug depth. Vibram MegaGrip has become the benchmark for trail outsoles, known for being durable, grippy across surfaces, and long-lasting. If a shoe has it, that’s a good sign. That said, don’t get fixated on Vibram for your first pair. Several brands run their own rubber compounds that perform well, and plenty of solid beginner shoes don’t carry the Vibram label. It’s a quality signal, not a dealbreaker either way.
Stack Height and Your Ankles
High-stack trail shoes are everywhere right now. Big cushion, tall midsoles, marshmallow foam. They feel incredible in the store.
For beginners, they’re worth approaching carefully.
Here’s the training argument: when you’re new to trail, your ankles haven’t developed the stability and proprioception that comes from time on uneven ground. A thick, soft midsole puts you further from the ground and makes it harder to feel what’s underneath you. On technical terrain rooty descents, off-camber trail, loose rock that disconnect increases the risk of rolling an ankle. It’s not a coincidence that ankle rolls on maximal-stack shoes have become more common as the category has exploded.
Think of it this way: you wouldn’t run steep downhill technical trail in an Alphafly. Same logic applies here.
For your first trail shoe, something in the moderate stack range keeps you reasonably close to the ground while still offering protection. As your trail running develops and your ankles get stronger, you can explore more cushion.
Drop: Stay in the Middle
Heel-to-toe drop is the height difference between your heel and forefoot. It influences how your foot strikes the ground and what load goes through your lower leg.
The simple guidance: start in the 6-10mm range.
Zero-drop shoes (Altra being the most well-known brand) have a passionate following, and for good reason. But if you’re not already experienced with low or zero drop, your Achilles and calves need time to adapt. Jumping straight to zero drop as a beginner is a common path to injury, not a shortcut to better running.
Try zero-drop down the road if you’re curious. But your first trail shoe should feel similar in drop to whatever you’ve been running in on the road.
Durability: The Honest Conversation About Mileage
Not all trail shoes are built equally for longevity. Lighter, more responsive foams feel great but tend to break down faster, sometimes significantly faster.
A trail shoe should realistically last you 300+ miles. Some do. Some don’t. Durability in a trail shoe comes down to three things: the outsole, the foam, and the upper.
The outsole is the most obvious one. Cheap rubber compounds wear down fast, especially on rocky and abrasive terrain. Better rubber compounds, including Vibram and some proprietary options from established brands, hold up significantly longer.
The foam is less talked about but just as important. Lighter, more responsive midsole foams tend to compress and lose their cushioning faster. This is part of the conversation with some shoes: they feel great out of the box, but the soft foams that make them comfortable can pack out quicker than firmer compounds. A shoe that feels dead underfoot at 300 miles isn’t protecting your legs the way it was on day one.
The upper is where both budget shoes and light racing shoes often cut corners. Trail running puts real stress on shoe materials, especially through rock gardens, roots, and scrambling. A thin mesh upper built for speed and weight savings can blow out faster than expected. If durability matters to you, which it should when you’re buying your first pair, resist the lightest option on the shelf. It’s usually light for a reason. Look for reinforced toe bumpers and durable overlays in the areas that take the most abuse.
What to Ignore
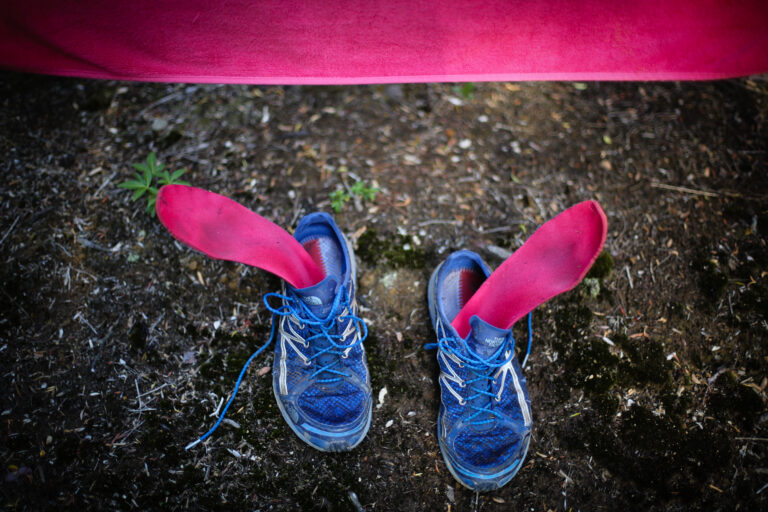
Waterproof/Gore-Tex: Skip it. Waterproof uppers keep water out, but they also keep heat and sweat in, dry slowly, and cost more. A good pair of merino wool socks handles wet conditions better than a Gore-Tex shoe in most situations. The exception is if you’re running in genuinely cold, consistently wet conditions where keeping your feet dry and warm is the priority. For most trail runners, breathable mesh is the better year-round call.
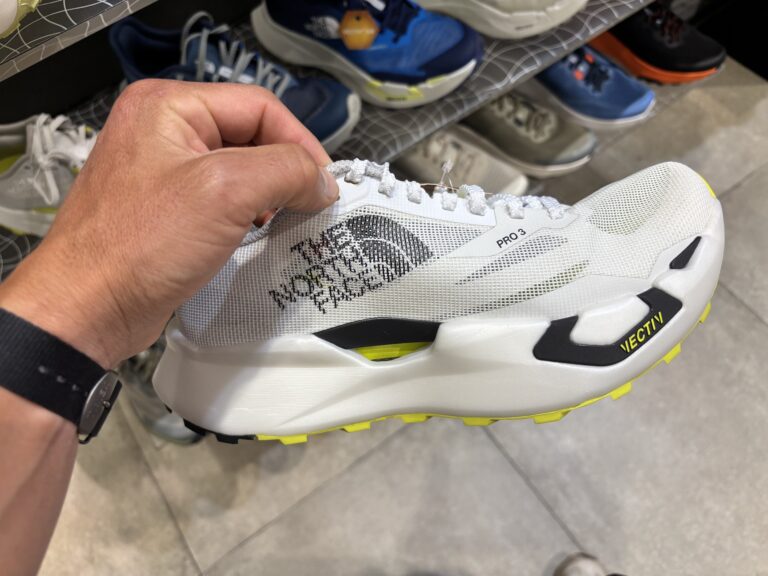
Plated trail shoes: The jury is still out on whether plates, carbon or otherwise, actually benefit trail running the way they do on the road. Trail terrain is unpredictable and varied, and plenty of top runners compete and train in non-plated shoes by choice. What we can say is that plated trail shoes are expensive, typically built around speed over comfort, and won’t serve you well when you’re hiking uphill at mile 25 of your first 50k. Until there’s a clearer answer on the trail plate debate, beginners are better off putting that money into a well-built, comfortable shoe that will hold up over distance. Comfort at hour four matters more than spring at hour one.
Copying what the pros wear: This one comes up constantly. You see a shoe on a top athlete and think that’s what you need. The problem is that elite trail runners are running thousands of miles a year on incredibly developed feet and ankles. They can get away with minimalist, aggressive shoes that would wreck a recreational runner in a day. What works for a pro finishing UTMB in 20 hours is not the template for someone finishing in 40. The demands on your feet, your gait, and your fatigue management are completely different by that point in the race. Find what works for you, your terrain, and your goals.
Gore-Tex and waterproofing aside, the real trap here is the aggressive fast/light shoe. What a shoe feels like at mile 2 and what it feels like at mile 20 when you’re tired, running sloppy, and your feet are swollen are two very different things. Comfort is king.
How Much to Spend
The trail shoe market has gotten expensive. Carbon-plated options are pushing $250-300. Even mid-tier shoes have crept up.
The honest range for a beginner first shoe: $120-150.
In that range, you can get a well-built, properly grippy, decently durable trail shoe from a serious brand without overpaying for technology you don’t need yet. Look for Vibram outsoles and foams that prioritize durability over max-cushion responsiveness.
One category worth knowing about: gravel shoes. These sit between road and trail moderate grip, road-shoe comfort, lighter weight. If you’re coming from road running and your local trails are mostly hardpack and gravel, a gravel shoe might be a genuinely good starting point. It’ll feel familiar underfoot while still giving you enough grip to run with confidence.
Avoid the $200+ max-stack, carbon-plated options for now. That’s a shoe for a runner who already knows exactly what they need. You’re not there yet and that’s fine.
Best Trail Running Shoes for Beginners.
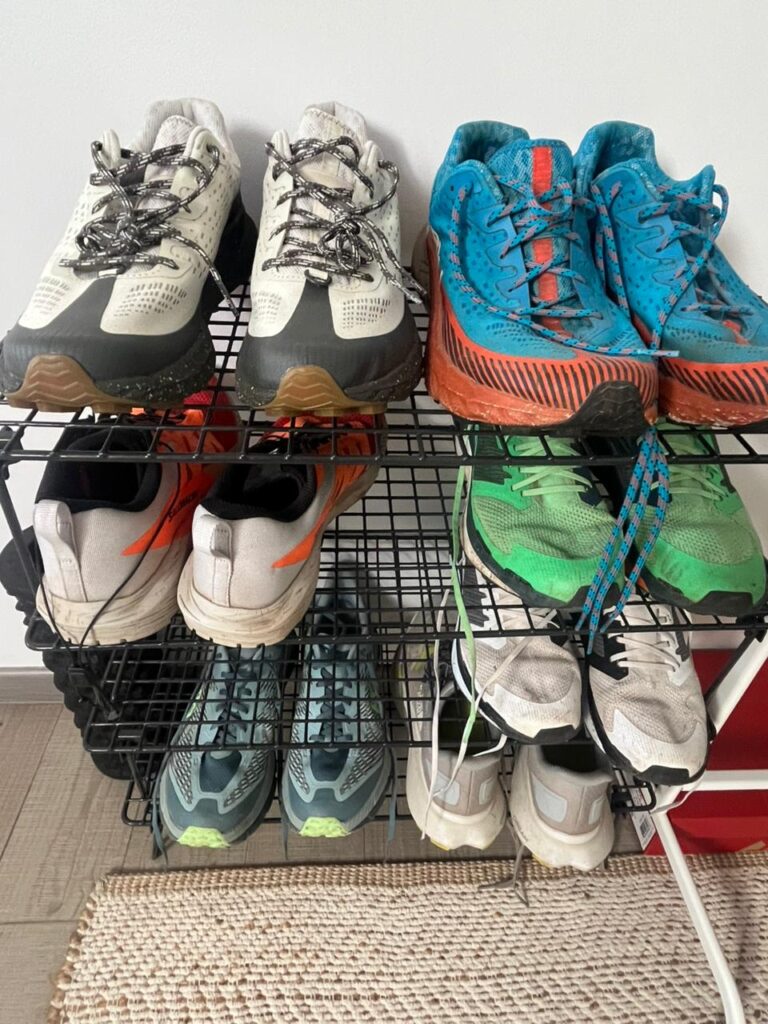
These aren’t paid recommendations. They’re shoes that come up consistently for being comfortable, versatile, reasonably priced, and honest about what they are.
Brooks Cascadia (~$130): One of the original beginner trail shoes and still one of the best. Stable, protective, reliable grip. Not flashy. Exactly what a first trail shoe should be. If you have no idea where to start, start here.
Salomon Sense Ride 5 (~$130): The non-intimidating Salomon. Road-friendly enough for mixed surfaces, with enough grip to handle most trail conditions confidently. Good counter to the assumption that Salomon means Speedcross-level aggression.
Hoka Challenger (~$140): The best road-to-trail option in the Hoka lineup. Light, cushioned, comfortable from step one. If you’re splitting time between pavement and trail and want one shoe for both, this is it. Just be aware that like most Hokas, they tend to wear out faster than other options in this price range. Treat the mileage accordingly.
Nike Pegasus Trail (~$130): Another solid road-to-trail crossover. Familiar feel for anyone coming from road running, enough grip for light to moderate trails. A low-barrier entry point if you’re not ready to commit to a full trail shoe.
Merrell Agility Peak 6 (~$150): The technical terrain option on this list. Vibram MegaGrip outsole, rock plate, durable upper. A lot packed into a $150 shoe, and it builds on the widely praised Agility Peak 5, which earned a strong reputation for durability and all-day comfort on rugged trails. Worth the extra spend if your terrain demands it.
A note before you buy: as tempting as it is to just order online, your first trail shoe is worth trying on in person. Visit a specialty running store if you can. The staff will usually know their stuff, and no spec sheet replaces actually feeling how a shoe fits your foot. Get the fit right first, then chase deals online for your next pair.
Shoes sorted. Now put in the work. Vert coaches you through every week, every run, every step toward your next goal.
Fit and Sizing
A few things worth knowing before you buy:
Go half a size up usually. Your feet swell during longer runs, and descents punish a tight toe box in ways a short test run in a shop won’t reveal. The half-size-up rule is solid advice for most people, most of the time.
But go to a specialty running store for your first pair. Not a department store. A proper running shop, ideally one with staff who actually run. Try multiple pairs. The half-size-up rule is a useful starting point, not a substitute for actually trying shoes on.
The exception: technical terrain. If you’re heading into genuinely technical ground (rocky, uneven, scramble-adjacent), a snugger fit gives you better ground feel and more precise footwork. The extra room that saves your toenails on a long run can work against you when you need precision on a technical descent.
Socks matter. Try shoes on with the socks you’ll actually run in. A thin race sock and a thick merino training sock fit very differently in the same shoe.
Trail running rewards the runners who show up consistently. Vert makes sure you know exactly what to do when you do.
Trail running has a way of sorting this out naturally. Run enough miles and your feet will tell you exactly what they need. The wrong grip, a midsole that’s packed out, an upper rubbing in the wrong place after hour three. The trails give you honest feedback fast. Start with what you have, buy smart when you’re ready, and don’t let the gear conversation get bigger than the running. That’s where the good stuff is.